Why Gluten-Free Bread Crumbles and How to Fix It
What makes gluten-free bread crumble in the first place?
Wheat bread holds together because gluten forms an elastic protein network that traps gas bubbles during fermentation and sets into a flexible scaffold during baking. When you remove gluten, that network disappears. The dough loses its ability to stretch around expanding gases, so the crumb structure ends up with weak, disconnected walls instead of a continuous, springy matrix.
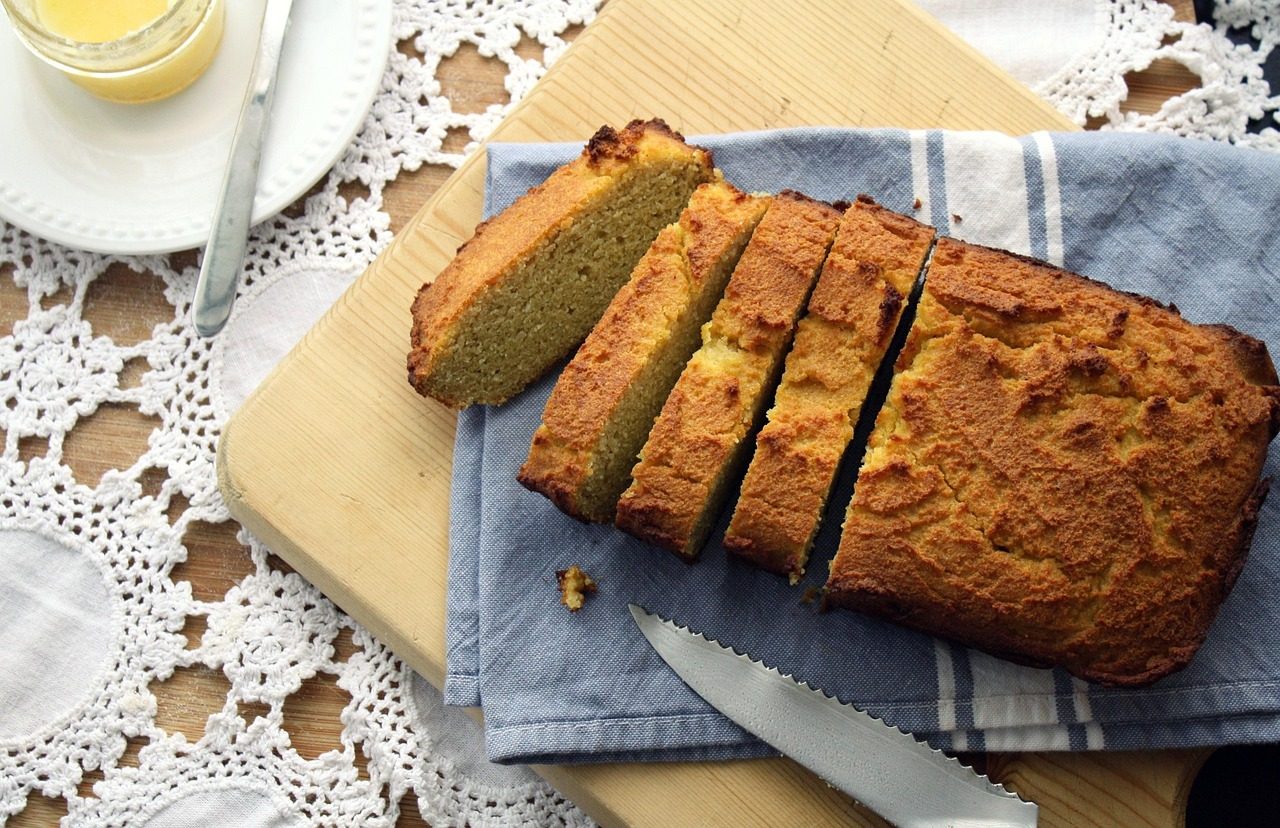
Without gluten to link starch granules and proteins, the baked loaf relies on fragile bonds between individual particles. These bonds break easily under the slightest pressure, a slice lifted from the board or a butter knife dragged across it. The bread separates into dry crumbs rather than compressing and bouncing back.
Gas retention is the second problem. Gluten traps carbon dioxide produced by yeast or chemical leaveners, creating an even rise. Gluten-free batters and doughs often let gas escape before the structure sets, leaving a dense, irregular crumb with plenty of weak points ready to crack apart.
How does the choice of flour affect crumbliness?
The flour blend you choose shapes the crumb more than any other single ingredient. Gluten-free flours fall into three broad groups: high-protein flours that give structure, starchy flours that lighten the texture but need support, and high-fiber flours that absorb moisture unevenly. A loaf made mostly from white rice flour or tapioca starch will slice cleanly only if you pair them with a binder and enough fat. Neither brings the protein that holds a crumb together.
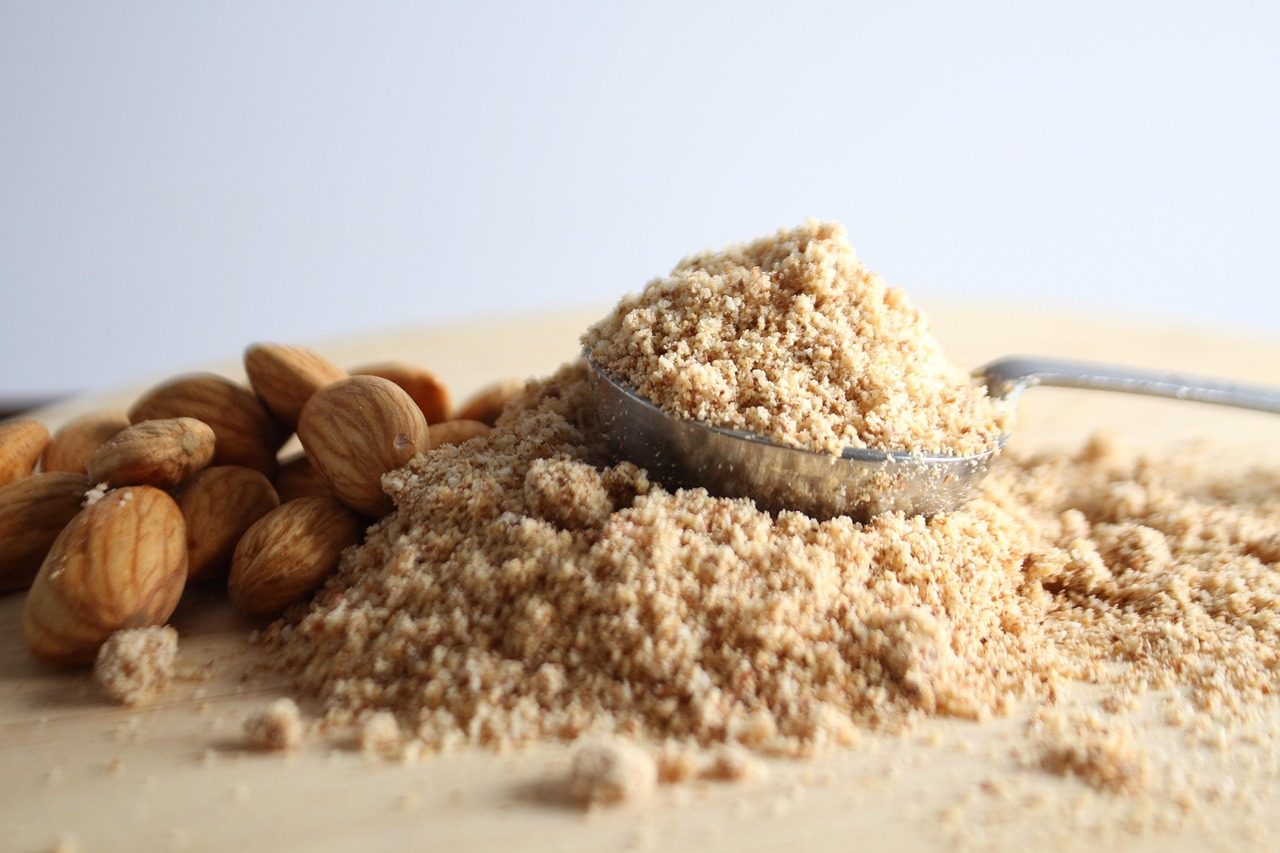
Whole-grain and nut flours add flavor and chew, but they can cause problems if they make up more than a third of the blend. Almond flour and coconut flour both lack gluten, but almond flour supplies fat and a tender crumb, while coconut flour pulls in four times its weight in liquid. Without extra eggs or a gel-like binder, coconut flour loaves dry out and crumble at the first cut. Buckwheat flour, despite its name, contains no wheat and performs closer to a whole-grain wheat flour in structure, though its strong taste means it works best in a 20-30 percent ratio.
Starches such as cornstarch, potato starch and arrowroot soften the crumb and extend shelf life, but they contribute zero protein. Build your blend around a medium-protein flour like sorghum or certified gluten-free oat flour. Add one or two starches for tenderness and a small amount of a high-protein flour such as teff or amaranth for structure.
- White rice flour and brown rice flour are the workhorses of most blends. Brown rice flour brings more fiber and a slightly nutty taste, but neither variety binds on its own; both need xanthan gum or psyllium husk.
- Sorghum flour has a mild, sweet flavor and about 11 grams of protein per cup. It mimics the softness of all-purpose wheat flour and creates a crumb that holds together noticeably better than rice flour alone.
- Almond flour adds moisture and fat, which delay staling. Use it at 25 percent of the blend or less to avoid a greasy, crumbly loaf that sinks in the center.
- Coconut flour crumbles badly unless you increase the eggs and liquid dramatically. A common ratio is one extra egg and an additional quarter cup of liquid for every quarter cup of coconut flour in the recipe.
- Oat flour, when certified gluten-free, gives a tender, slightly chewy crumb similar to whole-wheat bread. It absorbs more water than rice flour, so the dough will feel thicker and benefit from a longer rest before baking.
- Tapioca starch and potato starch create a crisp crust and a springy interior, but using either above 30 percent of the blend can cause the loaf to collapse as it cools and then crumble when sliced.
Which binders actually stop the bread from falling apart?
A binder mimics the stretchy network of gluten in wheat dough. It traps gas and holds the crumb together. Without one, the loaf has nothing to knit the starch granules into a continuous structure, so slices tear and shed crumbs at the lightest touch. The right binder, measured correctly, turns a sandy dough into a loaf you can slice thin for sandwiches.
Each option works differently, and the amount matters as much as the choice itself. Too little leaves the bread weak, while too much makes it gummy and dense. These are the binders that home bakers rely on most:
- Xanthan gum hydrates instantly and creates a fine, even crumb. Use ¾ teaspoon per cup of gluten-free flour for sandwich loaves, or ½ teaspoon for muffins and quick breads. It works best when blended with the dry ingredients before any liquid is added.
- Psyllium husk forms a strong gel that holds moisture and gives dough the elasticity you feel in traditional bread. Use 1 tablespoon of whole husk or 2 teaspoons of powder per cup of flour. Let it sit with the liquid for 5 minutes until it thickens before mixing in the dry ingredients.
- Ground flaxseed binds with water to create a mucilage that adds flexibility and a nutty flavor. Mix 1 tablespoon of finely ground flax with 3 tablespoons of warm water per cup of flour, then rest for 10 minutes until the mixture is thick and egg-like.
- Chia gel works the same way as flax, forming a sticky gel that reinforces the crumb. Combine 1 tablespoon of whole chia seeds with 3 tablespoons of water per cup of flour and let it sit for 15 minutes. The seeds soften fully during baking, so they disappear into the finished loaf.
- Eggs provide protein that sets during baking and acts as a structural scaffold. One large egg per cup of flour adds both binding power and moisture. For an egg-free loaf, aquafaba whipped to soft peaks gives a similar lift and structure.
Many reliable gluten-free recipes combine two binders, such as psyllium for elasticity and an egg for rise, to get the benefits of both. Start with a single binder when you are testing a new flour blend, then adjust from there.
Why does moisture matter so much for gluten-free dough?
Wheat dough forms a stretchy gluten network that traps gas and holds water inside the loaf. Gluten-free dough works more like a thick batter. Without that protein structure, moisture evaporates faster during baking. The finished bread dries out and crumbles sooner.
A wetter dough makes up for the missing gluten. Extra liquid lets the starches and binders swell fully, creating a gel that sets into a softer, more cohesive crumb. Most reliable gluten-free bread recipes call for a batter you can pour or scoop, not a kneadable ball. If your dough feels stiff before baking, add another tablespoon of water or milk. Stir it in completely before judging the texture.
Adjust liquid gradually because different flour blends absorb water at different rates. Whole-grain gluten-free flours and coconut flour pull in far more moisture than white rice flour or potato starch. Start with the amount in the recipe, mix, and let the batter rest for five minutes. The starches will hydrate further during that rest. If the batter still holds a spoon upright without slumping, stir in liquid one tablespoon at a time until it loosens to the consistency of thick muffin batter.
How does cooling change the crumb structure?
Cutting into a gluten-free loaf straight from the oven is the most common reason it falls apart at the table. While the bread cools, starch molecules that absorbed water during baking slowly recrystallize and set, a process called retrogradation. If you slice the loaf while it is still hot, those starches are soft and gummy, and the knife tears through the weak structure instead of cutting cleanly.
Gluten-free breads need more cooling time than wheat breads because they rely on starch gels and added binders for their framework. A loaf pulled from the oven can look firm on the outside but still be steaming and fragile inside. Steam trapped in the crumb keeps it moist, and slicing too early releases that moisture all at once, leaving you with a dry, cracked slice and a pile of crumbs on the cutting board.
Place the hot loaf on a wire rack, not on a flat surface, so air can circulate underneath and prevent a soggy bottom crust. A full-sized sandwich loaf needs at least 2 hours to cool completely, while small rolls or flatbreads may be ready in 30 to 45 minutes. The bread should feel room temperature to the touch, with no warmth when you press the center of the crust. Only then will the crumb hold together when you cut it with a serrated knife using a gentle sawing motion.
What mixing and proofing mistakes make crumbling worse?
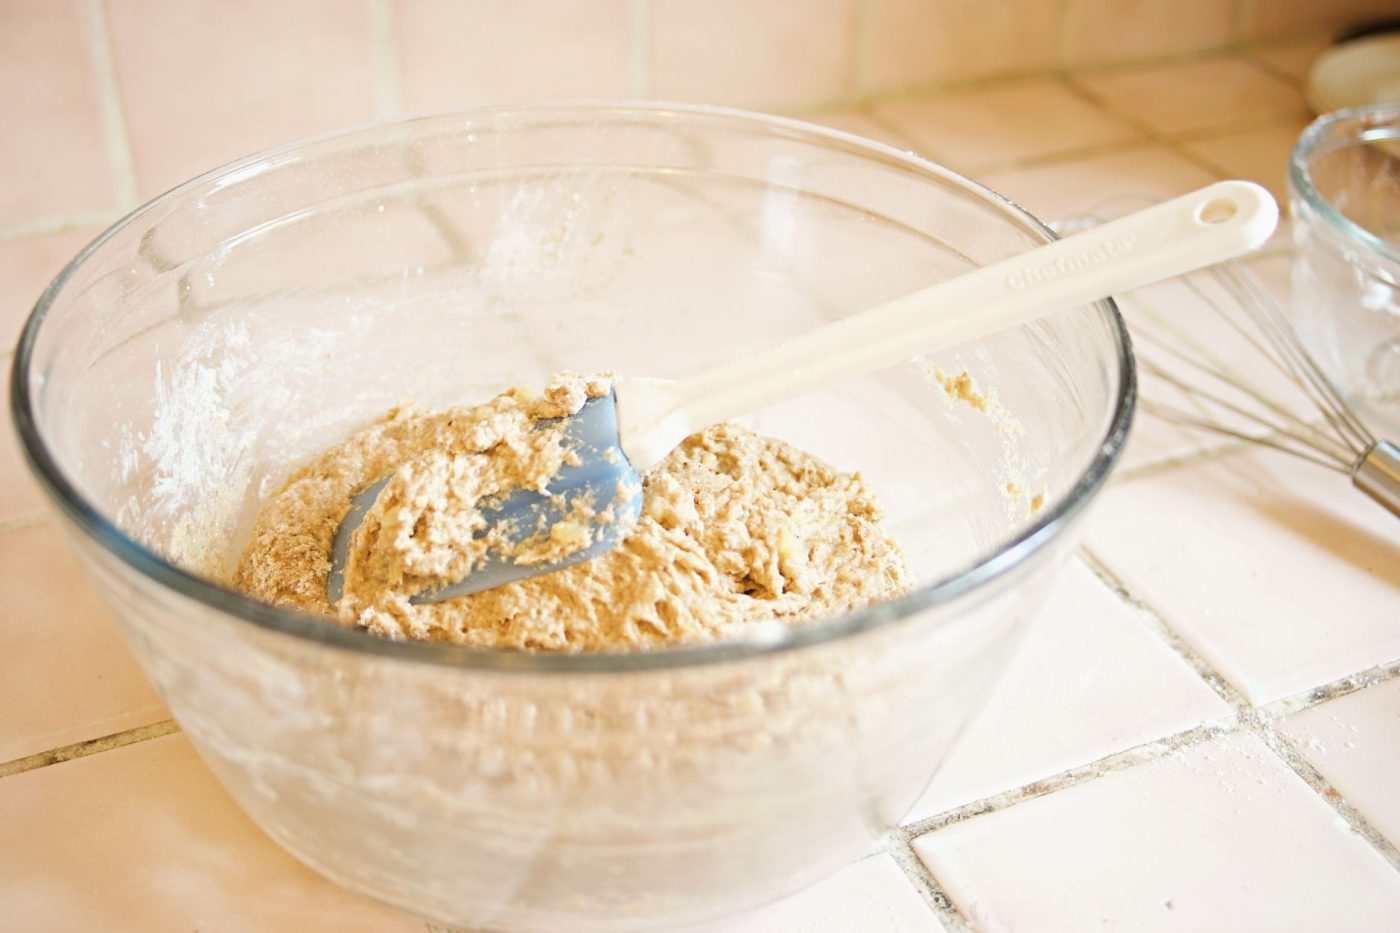
Overmixing after you add binders such as xanthan gum or psyllium husk is a common problem. These ingredients form a gel network that traps gas and holds the loaf together, but a stand mixer on high speed can tear that network apart before baking begins. Stop mixing as soon as the dough comes together and looks smooth, usually 60 to 90 seconds on medium speed.
Skipping the rest period for gluten-free flours to hydrate also leads to a crumbly texture. Whole grain flours, starches and binders need time to absorb the liquid fully; without a 20 to 30 minute rest, the dough bakes with dry pockets that separate after cooling. Proofing time matters just as much. A short proof under 30 minutes leaves the dough too dense, while a long proof over 90 minutes can overstretch the weak protein structure, causing the loaf to collapse and crumble when sliced.
- Overmixing after binders are added tears the gel network and weakens the crumb.
- Skipping the 20 to 30 minute rest prevents flours and starches from fully hydrating.
- Underproofing for less than 30 minutes produces a dense, dry loaf that falls apart.
- Overproofing beyond 90 minutes stretches the structure past its limit, leading to collapse.
- Using cold liquids straight from the fridge slows yeast activity and delays proper structure formation.
- Mixing at too high a speed introduces large air pockets that burst during baking and leave weak spots.
Can you rescue a loaf that already turned out crumbly?
A crumbly loaf rarely goes back to being a sandwich bread, but you can still turn it into something delicious. Toasting is the quickest fix. A light toasting in a dry pan or a toaster drives off excess moisture at the surface and gives the slice enough structure to hold a topping. Butter the toast while it is warm so it softens the crumb rather than tearing it.
For a cooked breakfast, crumbly gluten-free bread makes excellent French toast. Soak thick slices in a custard of two eggs, half a cup of milk and a pinch of cinnamon for about 30 seconds per side, then fry in butter over medium heat until golden. The egg sets around the crumb and holds everything together. Bread pudding works the same way on a larger scale: cube the loaf, pour the custard over it, let it sit for 15 minutes and bake at 350°F (175°C) until puffed and set, roughly 35 minutes.
When the loaf is beyond slicing, turn it into breadcrumbs. Dry the pieces in a 300°F (150°C) oven for 10 to 15 minutes without browning them, then pulse in a food processor. Store the crumbs in an airtight container in the freezer and use them straight from frozen for meatballs, a topping for mac and cheese or a crisp coating for chicken cutlets.
FAQ
Does toasting gluten-free bread stop it from crumbling?
Toasting helps a lot. The dry heat removes excess moisture from the surface and sets the starches, so the slice holds together better. For sandwiches, toast the bread lightly before assembling, and let it cool for a minute so the crumb firms up without turning brittle.
Is xanthan gum the only binder that works?
No, psyllium husk powder often gives a more bread-like chew and better slice stability. Ground flaxseed and chia gel also work, though they add a nuttier flavor. Many home bakers combine two binders, such as xanthan gum and psyllium, for the most reliable texture.
Why does my gluten-free bread sink in the middle and then crumble?
A sunken center usually means the dough was over-proofed, too wet, or the oven temperature was too low to set the structure quickly. The collapsed crumb is weak and crumbles when you cut it. Check your leavening amounts, proof only until the dough just reaches the top of the pan, and use an oven thermometer to confirm the temperature.
Can I use regular bread recipes and just swap the flour?
A simple one-to-one flour swap rarely works because wheat recipes rely on gluten development. Gluten-free dough needs more moisture, a binder, and often a longer rest before baking. Start with a recipe written for gluten-free flours, then adjust the liquid and binder based on how your first loaf behaves.