Easy Gluten Free Bread Machine Recipe
What is the best flour for gluten free bread in a machine?
A 1-to-1 gluten-free flour blend that already contains xanthan gum gives the most reliable loaf in a bread machine. These blends mix rice flour, potato starch, and tapioca starch in proportions that mimic the structure wheat gluten provides. The xanthan gum binds water and traps gas during the bake, so your bread rises and holds its shape instead of turning out dense or crumbly.
Single-grain flours like almond flour, coconut flour, or straight brown rice flour cannot work alone in a bread machine. Almond flour has no starch to build a crumb, coconut flour soaks up liquid unpredictably, and plain rice flour produces a gritty brick without a binder. You need the combination of whole grains, starches, and a gum that a blend delivers.
Several widely available brands perform well in the gluten-free cycle:
- Bob’s Red Mill Gluten Free 1-to-1 Baking Flour (the blue bag) contains xanthan gum and gives a neutral taste.
- King Arthur Gluten Free Measure for Measure Flour includes xanthan gum and produces a soft, sandwich-style crumb.
- Cup4Cup Multipurpose Flour was developed by a chef and works particularly well in enriched doughs.
- Pillsbury Gluten Free All Purpose Flour is a budget-friendly option with xanthan gum already added.
- Better Batter Original Blend has a slightly higher xanthan gum content that helps in humid climates.
Check the ingredient label every time you buy. A blend that says “measure for measure” or “1-to-1” and lists xanthan gum on the package needs no extra binder. If your blend does not include xanthan gum, you must add about half a teaspoon per cup of flour, but that changes the liquid balance and makes results less predictable.
Which bread machine settings do you need?
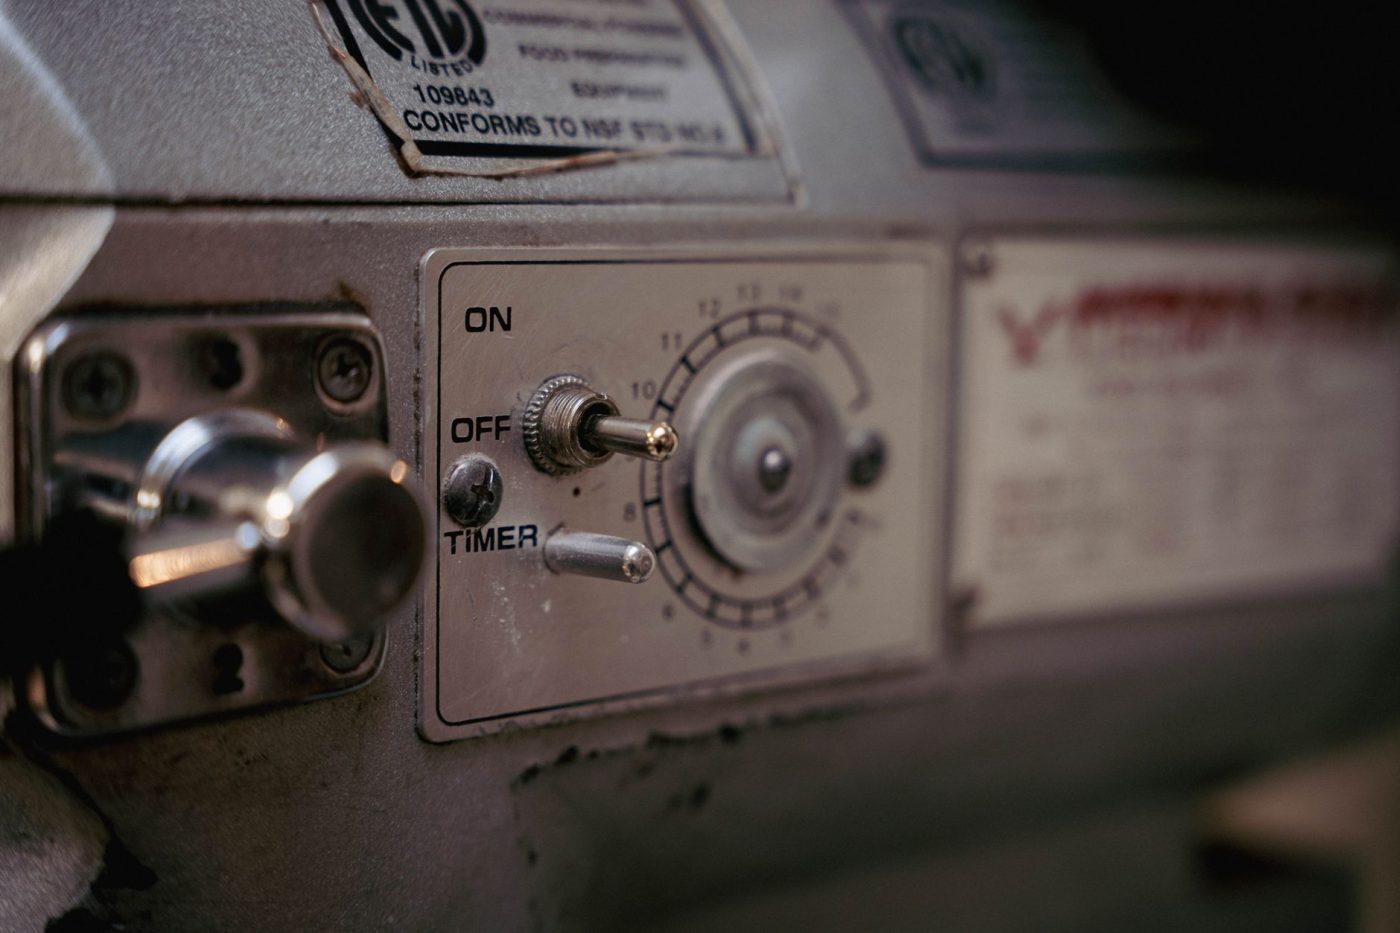
Most gluten free bread recipes work best with a dedicated gluten-free cycle. This setting skips the second rise and the punch-down step that standard wheat cycles include, because gluten free dough cannot recover from that deflation the way wheat dough can. The machine mixes, allows one short rise, and then bakes without interruption.
If your bread machine does not have a gluten-free setting, use the quick or rapid cycle instead. These programs also run a single rise and a shorter overall time, which keeps the loaf from over-proofing and collapsing. Avoid the whole wheat, basic, or French bread cycles, because they include multiple rises and a longer kneading phase that will overwork the batter and produce a dense, sunken loaf.
For machines with a custom program option, set the following parameters manually when the manual allows it:
- Knead 1: 5 to 8 minutes
- Rise 1: 30 to 40 minutes
- Knead 2: off or 0 minutes
- Rise 2: off or 0 minutes
- Bake: 55 to 65 minutes at 350°F (175°C)
Check the batter after the first few minutes of mixing. Scrape down the sides of the pan with a silicone spatula if flour is sticking, then close the lid and let the cycle finish without opening it again until the bake ends.
Step-by-step gluten free bread machine recipe
This recipe makes a soft, sliceable loaf that holds together for sandwiches and toast. It relies on a blend of whole grain and starch flours plus a binder to replace the gluten structure. You do not need a dedicated gluten-free cycle, but you do need to scrape down the sides once during the knead phase.
Prep time: 10 minutes | Cook time: 65 to 85 minutes (machine dependent) | Total time: about 1 hour 30 minutes | Servings: 1 loaf (about 12 slices)
Ingredients
- 1 cup (140 g) brown rice flour
- ½ cup (60 g) tapioca starch
- ½ cup (60 g) potato starch
- ⅓ cup (45 g) sorghum flour
- 2 tablespoons (25 g) granulated sugar
- 2 teaspoons (8 g) xanthan gum
- 1½ teaspoons (8 g) fine sea salt
- 1 cup (240 ml) warm water, 105°F to 110°F (40°C to 43°C)
- 2 large eggs, room temperature
- 3 tablespoons (42 g) unsalted butter, melted and cooled slightly, or neutral oil
- 1 teaspoon (5 ml) apple cider vinegar
- 2¼ teaspoons (7 g) active dry yeast or bread machine yeast
Instructions
- Check your bread machine manual. Pour the warm water (105°F to 110°F) into the bread pan first, then add the melted butter, eggs, and apple cider vinegar.
- In a separate bowl, whisk together the brown rice flour, tapioca starch, potato starch, sorghum flour, sugar, xanthan gum, and salt until evenly combined.
- Spoon the dry mixture gently over the wet ingredients in the pan, covering the liquid completely. Make a shallow well in the center of the flour with your finger and pour the yeast into the well, keeping it away from the wet layer below.
- Place the pan in the machine and select the basic or white bread cycle with a light or medium crust. Press start.
- After the first kneading paddle stops (usually 5 to 8 minutes in), open the lid and use a flexible spatula to scrape down the sides and bottom of the pan, folding any dry pockets into the batter. The dough will look more like thick cake batter than traditional bread dough.
- Close the lid and let the machine complete the rise and bake cycles without opening it again. When the cycle finishes, remove the pan immediately and turn the loaf out onto a wire rack. Let it cool completely, at least 90 minutes, before slicing.
Why did my gluten free bread collapse or sink?
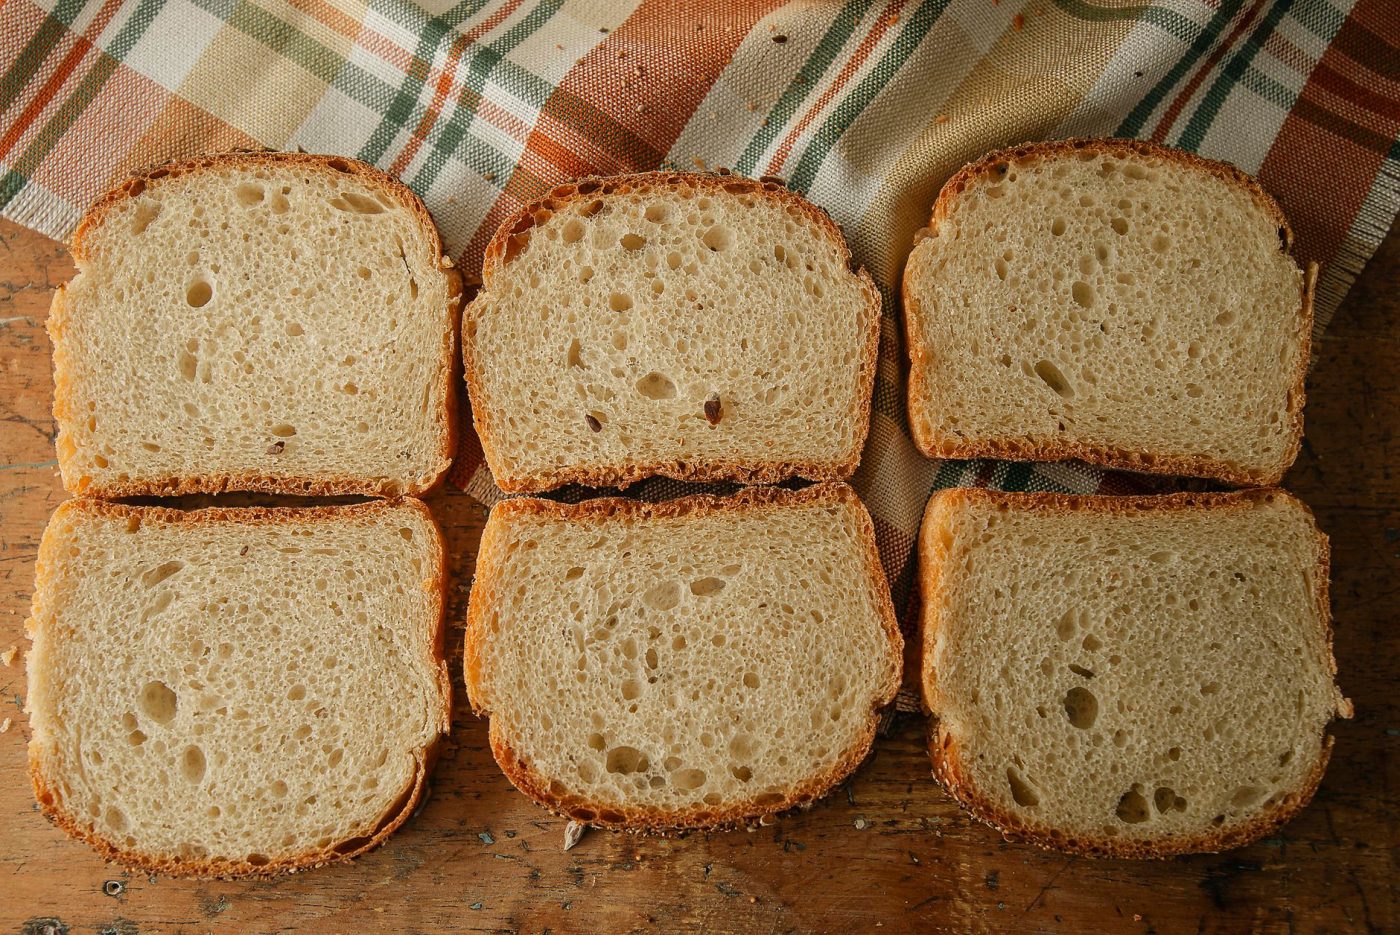
A loaf that rises beautifully and then sinks in the middle is a common frustration with gluten-free baking. The batter lacks the strong protein network that traps gas in wheat dough, so it needs more structure from other ingredients. Too much liquid is the most frequent cause. If the dough looks like a thick cake batter when the kneading paddle stops, it is right. If it pours like pancake batter, reduce the water or milk by a tablespoon or two next time.
Other factors work against a tall loaf. Check each one before you try again.
- Expired or weak yeast. Yeast that is old or was stored in a warm place will not produce enough gas. Proof a teaspoon in warm water with a pinch of sugar. If it does not foam within 10 minutes, replace it.
- Wrong flour blend. Not every gluten-free flour works in a bread machine. Use a blend labeled for bread or one that contains xanthan gum. All-purpose blends without a binder cannot hold the rise.
- Skipping the gluten free cycle. A standard wheat cycle over-kneads and overproofs the batter. The gluten free setting mixes briefly, rises once, and bakes. If your machine lacks it, use a quick or rapid cycle and watch the rise.
- Too much liquid or too little structure. High-hydration batters need enough starch and binder. Add an extra tablespoon of tapioca starch or a half-teaspoon of psyllium husk powder to firm up the crumb.
- Opening the lid during the bake. A sudden drop in temperature can collapse the delicate structure. Keep the lid closed until the timer beeps.
How to add seeds, oats, or dried fruit without ruining the loaf
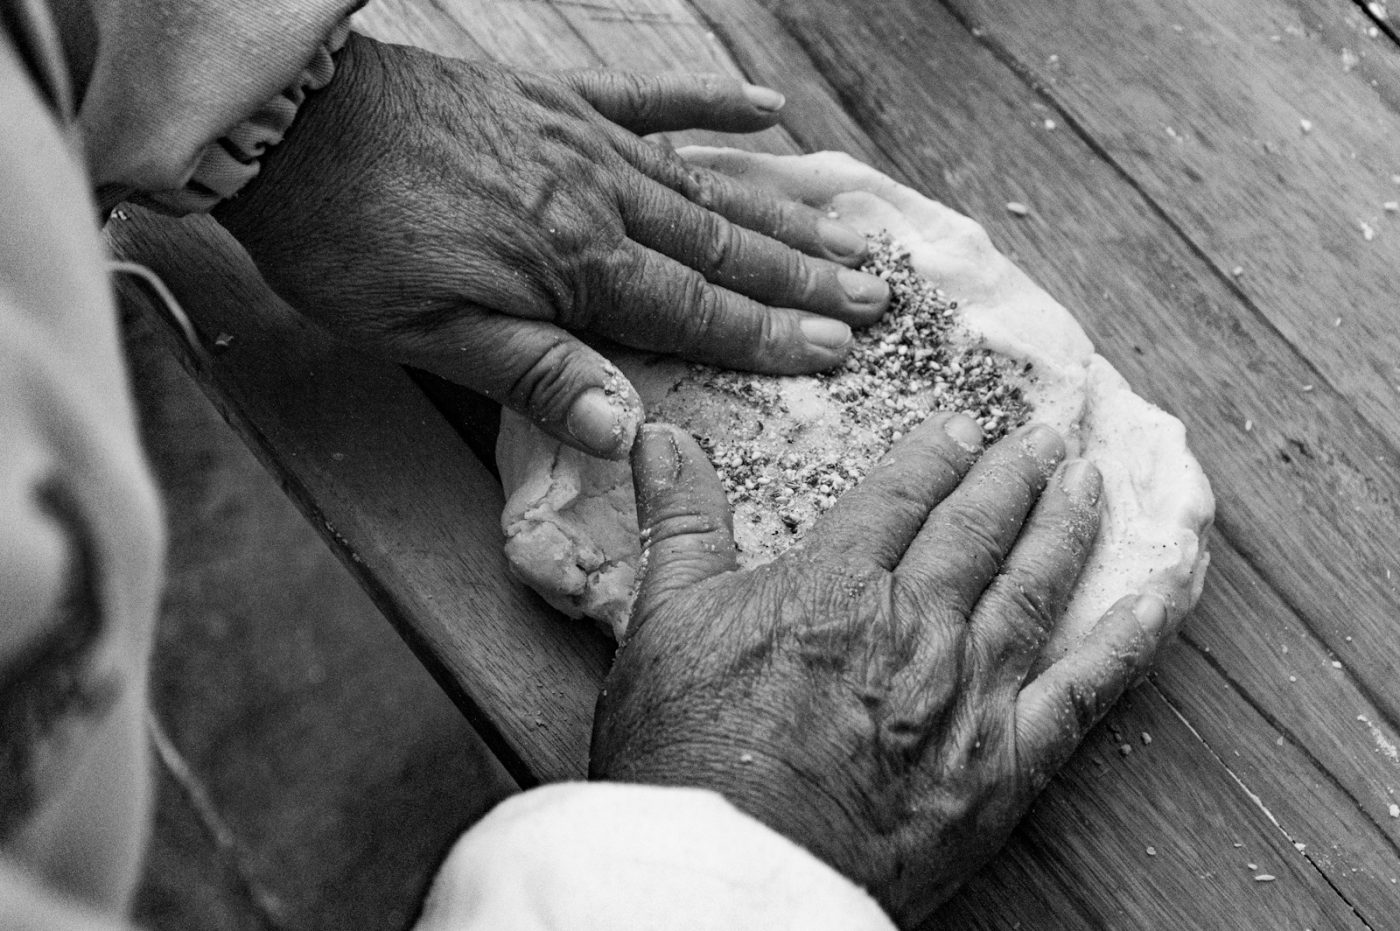
Most bread machines beep during the knead cycle to signal when you can add extras like seeds or dried fruit. If your machine lacks this signal, open the lid and sprinkle the mix-ins over the dough during the last 5 minutes of the final knead. Adding them too early lets the paddle chop everything into tiny pieces, which can release moisture and throw off the dough structure.
Stick to certified gluten-free oats, since regular oats carry a high risk of cross-contact with wheat, barley, or rye. Sunflower seeds, pumpkin seeds, and chopped dried cranberries all work well. Soak dried fruit in warm water for 10 minutes and pat it dry before adding, or it will steal water from the dough and leave you with a dry, crumbly loaf.
Seeds and oats absorb extra liquid, so reduce the water in the recipe by 1 tablespoon for every ¼ cup of dry mix-ins you add. Keep the total amount of add-ins to about ⅓ cup (50 g) for a 1½-pound loaf. Anything more weighs down the dough, and the loaf may not rise properly or may collapse after baking.
Can you make this recipe dairy-free or egg-free?
You can adapt this loaf for dairy-free and egg-free diets with a few simple swaps. The bread will still rise and bake through, though the crumb may be slightly less tender than the original version. For a dairy-free loaf, replace the butter with an equal amount of neutral oil such as avocado or light olive oil, measured the same way. If the recipe calls for milk, use unsweetened almond milk or oat milk (check that your oat milk is certified gluten-free).
Replacing eggs takes a little more care because eggs add structure and moisture in gluten-free baking. The most reliable swap is a commercial powdered egg replacer, mixed with water according to the package directions. Aquafaba, the liquid from a can of chickpeas, also works well. Use 3 tablespoons of aquafaba per egg and whisk it briefly until foamy before adding it to the wet ingredients. A flax egg (1 tablespoon ground flaxseed plus 2½ tablespoons water, left to gel for 5 minutes) can work if you are in a pinch, but the loaf may come out slightly denser and less tall.
FAQ
Do I need a bread machine with a gluten-free setting?
Yes, a gluten-free setting gives the most reliable results because it uses one rise cycle and a longer bake. If your machine does not have one, choose the quick or rapid cycle, which also skips the second rise. Avoid the standard white bread cycle, which punches down the dough and can make the loaf collapse.
Why is my gluten free bread dense and gummy?
Dense, gummy bread usually means the dough had too much moisture or the bake time was too short. Weigh your flour instead of scooping it, and use a flour blend that contains xanthan gum. If the center is still wet, let the loaf cool completely before slicing.
How should I store homemade gluten free bread?
Keep the bread at room temperature in a sealed bag for up to two days. For longer storage, slice the loaf first, then freeze the slices with parchment paper between them. Reheat frozen slices in a toaster or toaster oven straight from the freezer.
Can I use this recipe for gluten free pizza dough or rolls?
No, this recipe is formulated for a loaf pan inside a bread machine and will not hold its shape as pizza dough or free-form rolls. For those, look for a recipe designed with a higher protein flour blend and a shorter bake time. The dough cycle on your machine can still mix the ingredients before you shape and bake them in a conventional oven.